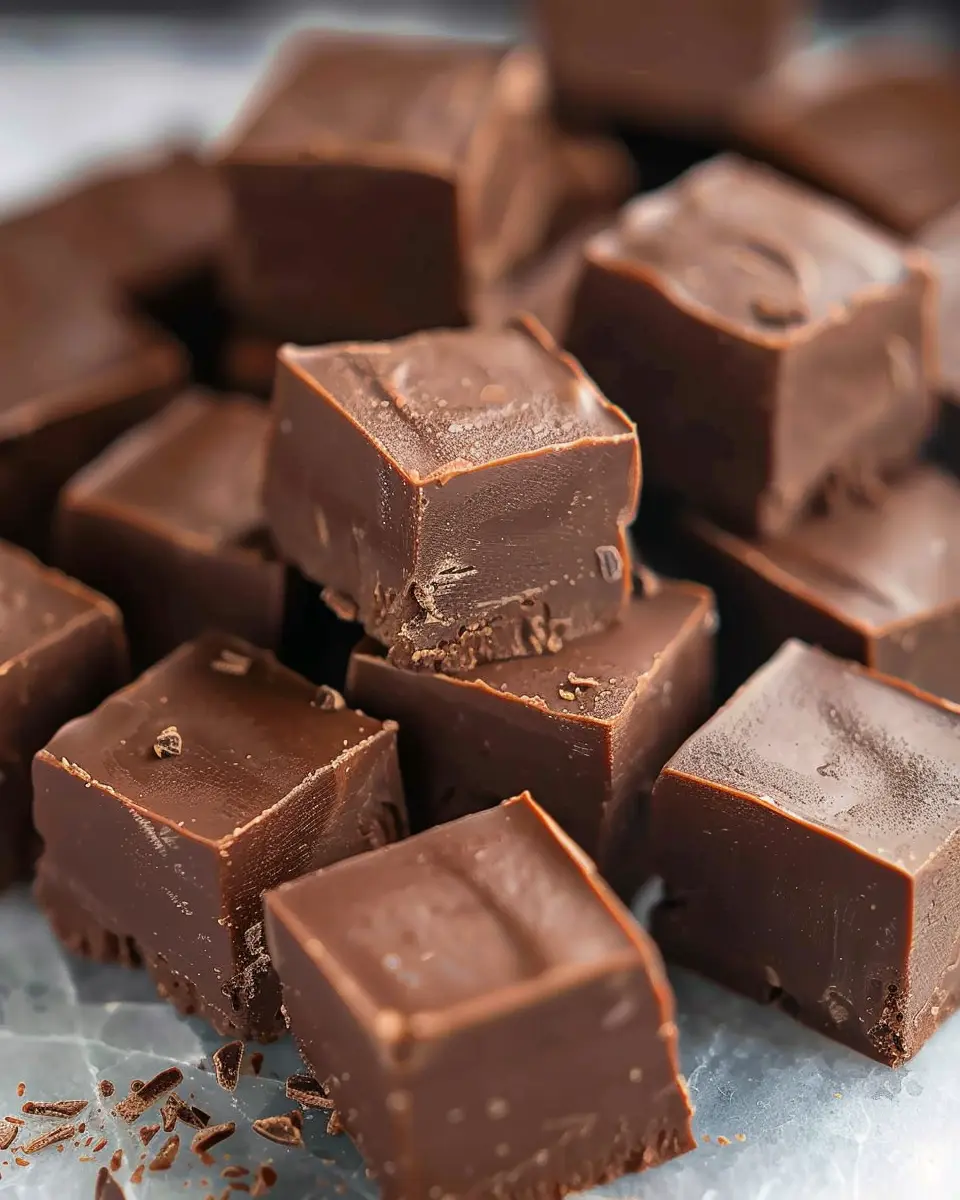
Introduction to Easy Chocolate Fudge
If you’ve ever craved something sweet, rich, and utterly delectable, then homemade fudge should be at the top of your list. Easy chocolate fudge is not just a dessert; it’s a little piece of joy that you can whip up in no time. Unlike store-bought varieties, which often come with questionable ingredients, your homemade fudge allows you to control what goes into it. You can use high-quality chocolate, just the right amount of sugar, and, best of all, you can avoid preservatives.
So, what makes homemade chocolate fudge so special?
- Customization: One of the most delightful features of making easy chocolate fudge at home is the customization. Do you prefer a sprinkle of sea salt? Or maybe a dash of espresso for that mocha flair? The options are endless!
- Quality Control: By crafting it yourself, you can pick the best chocolate for melting. Brands like Ghirardelli or Callebaut are popular among fudge enthusiasts for their rich flavors. Plus, you can ensure there’s no unnecessary high-fructose corn syrup or artificial additives.
- Gathering with Friends: Making fudge can be a social event. Invite friends over for a casual baking night, and you can create your own unique batches while sharing laughs and stories. It’s these moments that turn a simple treat into a cherished memory.
But what if you’re short on time? Don’t worry! This easy chocolate fudge recipe is not only delicious but also simple enough for a weeknight dessert or a last-minute gift. You’ll find that even the most novice bakers can achieve that perfect creamy texture with minimal effort.
Curious to learn more? Fudge has been a beloved treat for centuries. According to the American Confectioners Association, it dates back to the 1880s and has remained a staple in households across America. Want to dive deeper into the history of fudge? Check out this fascinating article about its evolution.
In conclusion, indulging in homemade easy chocolate fudge isn’t just about satisfying a sweet tooth; it’s about crafting experiences, memories, and a dash of happiness!
Ingredients for Easy Chocolate Fudge
Essential ingredients for the perfect fudge
Creating easy chocolate fudge is all about having the right ingredients. Here’s what you’ll need:
- High-quality chocolate: Choose semisweet or dark chocolate for a deeper flavor.
- Sweetened condensed milk: This is the creamy base that makes your fudge rich and smooth.
- Butter: Adds richness and enhances the chocolate flavor.
- Vanilla extract: A splash of vanilla elevates the overall taste profile.
- Optional mix-ins: Nuts, marshmallows, or a sprinkle of sea salt can add delicious complexity.
These simple ingredients come together to create a luscious dessert that is incredibly satisfying.
Why high-quality chocolate matters
When it comes to easy chocolate fudge, the type of chocolate you use can make or break your treat. High-quality chocolate has a richer flavor and a smoother texture, allowing the fudge to melt in your mouth deliciously. Brands like Guittard or Ghirardelli often score high in taste tests and are worth the investment.
Plus, remember that chocolate is a complex mixture of flavors; using a premium product ensures each bite is truly delightful. For expert insights on selecting chocolate, check out this guide from the Chocolate Manufacturers Association.
Step-by-step preparation for Easy Chocolate Fudge
Creating the perfect easy chocolate fudge is a delightful journey that takes just a few simple steps. Whether you’re a kitchen novice or a confectionery pro, this guide will walk you through the preparation so you can enjoy this rich, creamy treat in no time!
Gather your ingredients and tools
Before diving into the world of fudge-making, it’s essential to gather all your ingredients and tools. This will help you streamline the process and minimize any kitchen chaos. For this easy chocolate fudge recipe, you’ll need:
- 1 can (14 ounces) of sweetened condensed milk
- 2 cups of semi-sweet chocolate chips (or chunks if you prefer)
- 1 teaspoon of pure vanilla extract
- A pinch of salt (optional)
- Cooking spray or parchment paper for the baking dish
Also, rounding up your tools will make everything smoother:
- A microwave-safe bowl or a double boiler
- A 9×9-inch baking dish
- A spatula or wooden spoon
- Baking paper or aluminum foil
By ensuring you have everything at hand, you’ll avoid any unnecessary trips to the pantry mid-recipe.
Prepare your baking dish
Now that you have everything ready, it’s time to prep your baking dish. A clean and well-prepared dish will ensure your fudge comes out smoothly once it’s set.
- Line the baking dish: You can use parchment paper, letting the edges hang over the sides a bit, making for easy removal later.
- Grease the dish: If you’re not using parchment paper, lightly grease your dish with cooking spray to prevent sticking.
A well-prepped dish is your first step toward achieving fudge perfection!
Melt the chocolate and sweetened condensed milk
The next phase is where the magic truly begins!
- Combine ingredients: In your microwave-safe bowl or double boiler, mix the sweetened condensed milk and chocolate chips.
- Melt the mixture: If using a microwave, heat it in 30-second intervals, stirring after each until the chocolate is completely melted. Be cautious not to overheat – gentle heat works best.
For those unfamiliar, the double boiler method involves simmering water in a pot and placing your bowl on top to slowly melt the chocolate.
This melting process is crucial, as it creates a smooth base for your fudge, and the combination of these ingredients will give you that luscious, gooey texture everybody loves!
Incorporate the vanilla extract
Now that you have a beautifully melted chocolate mixture, it’s time to elevate the flavor profile.
- Add vanilla and a pinch of salt (if desired): Stir in the pure vanilla extract. This simple addition enhances the taste of your easy chocolate fudge, making it irresistible.
Don’t skip this step! The vanilla helps bring out the rich chocolate flavor and adds that little extra something that makes your fudge unforgettable.
Pour and shape your fudge mixture
With everything mixed to perfection, it’s time to transfer your fudge mixture into the prepared baking dish.
- Pour the mixture: Use your spatula to scrape every last bit of that gooey goodness from your bowl and into the dish.
- Spread evenly: Smooth the top with the spatula to create an even layer.
At this stage, you can also sprinkle toppings like chopped nuts or sea salt for an added crunch, if you like.
Allow to set and cut into pieces
Now comes the hardest part: waiting!
- Let your fudge cool: Allow it to set at room temperature for about 2 hours or in the refrigerator for about an hour.
- Cutting it up: Once set, lift the fudge out of the dish using the parchment paper. Cut it into squares or rectangles—whichever shape you prefer!
A pro tip: If you like clean edges, warm your knife under hot water before cutting!
Making easy chocolate fudge is not just about satisfying a sweet tooth; it’s about crafting something delightful that friends and family can enjoy. With a few simple steps, you’re well on your way to creating a batch of delicious fudge that will impress your pals and perhaps even make you the crowned dessert hero at your next gathering!
Variations on Easy Chocolate Fudge
Classic Chocolate Fudge with a Twist
If you’re looking for a way to elevate your easy chocolate fudge, why not try adding a hint of espresso or sea salt? Mixing in a tablespoon of instant coffee can enhance the richness of the chocolate, giving it that extra depth. For a sprinkle of texture, a dash of flaky sea salt before it sets can create a delightful contrast. These little adjustments will take the classic fudge to new heights!
Peanut Butter Marble Fudge
Peanut butter lovers, rejoice! Have you ever thought about the delicious pairing of chocolate and peanut butter? To make a peanut butter marble fudge, simply prepare your easy chocolate fudge as directed. Once mixed, scoop out a portion of the fudge batter and blend it with creamy peanut butter. Alternately layer the chocolate and peanut butter mixtures in your pan and swirl them together with a knife. The result will be an irresistible marble effect that’s as tasty as it is beautiful.
Mint Chocolate Fudge
Craving something fresh? Opt for a mint chocolate fudge. For this variation, add a few drops of peppermint extract to your easy chocolate fudge mixture. You’ll achieve a vibrant, festive flavor that’s perfect for special occasions (or just because!). To elevate it further, fold in crushed peppermint candies or chocolate mint chips to give each bite an extra punch of minty goodness.
Each of these variations offers a unique twist on the classic fudge you’re familiar with, making it fun to experiment and share with friends. So why not grab your ingredients and get started? Happy fudging! You can find more ideas on adding flavors at sites like Taste of Home and Food Network.
Cooking tips and notes for Easy Chocolate Fudge
How to ensure a smooth texture
Achieving a perfectly smooth texture in your easy chocolate fudge is all about patience and technique. Here are a few tips:
- Use quality chocolate: Opt for high-quality chocolate with a high cocoa content for a richer flavor and smoother melt.
- Control heat: Melt the chocolate over low heat. Stir gently as it melts to prevent it from seizing.
- Avoid water: Make sure your utensils and pots are completely dry. Even a small amount of moisture can cause chocolate to clump.
If you’re interested in more tips on chocolate texture, check out resources from Fine Cooking for in-depth discussions.
Troubleshooting common fudge issues
Sometimes, things don’t go as planned. Don’t fret! Here are ways to handle common fudge problems:
- Grainy fudge: This can happen if the sugar isn’t fully dissolved. Make sure to stir well and allow the mixture to come to a gentle boil before removing it from heat.
- Soft fudge: If your fudge doesn’t set, it may need more cooking time. Return it to the stove to thicken it up further.
- Rough texture: Ensure even cooling in the fridge. Cover your fudge once it’s slightly cooled to keep it from drying out on top.
With these tips, your easy chocolate fudge will impress family and friends! Happy cooking!
Serving suggestions for Easy Chocolate Fudge
When it comes to enjoying your easy chocolate fudge, presentation and pairing can take your indulgence to the next level. Here are some delightful ideas to elevate your fudge game.
Creative ways to present your fudge
- Cut into fun shapes: Use cookie cutters to create heart or star-shaped bites. These are perfect for parties or special occasions.
- Layer it up: Serve your fudge in a small dessert cup, layering it with whipped cream and crushed nuts for an impressive look.
- Wrap it up: Package your fudge in colorful parchment paper or small boxes tied with a ribbon. It’s a thoughtful gift for friends or family.
Pairings that elevate the experience
Consider serving your easy chocolate fudge with:
- Fresh fruit: Strawberries and bananas complement the richness of the fudge, adding a refreshing contrast.
- Nutty toppings: Sprinkle with chopped peanuts or hazelnuts for an added crunch.
- Hot beverages: Pair your fudge with a warm cup of cocoa or even a herbal tea for a cozy treat.
By experimenting with these serving suggestions, you’ll not only impress your guests but also enjoy your easy chocolate fudge in a delightful new way. For more inspiration on dessert pairings, check out Taste of Home.
Time Breakdown for Easy Chocolate Fudge
When it comes to whipping up easy chocolate fudge, managing your time is key. Here’s a handy breakdown to help you get this delicious treat made in no time!
Preparation Time
You’ll need about 15 minutes to gather your ingredients and get everything ready. This includes chopping and measuring your chocolate, butter, and any other add-ins you might want.
Cooking Time
The cooking process itself is quick, taking roughly 10 minutes. Just melt your ingredients over low heat, stirring gently until everything is smooth and delicious.
Total Setting Time
After cooking, allow your fudge to set for about 2 hours at room temperature, or you can speed things up by popping it in the fridge! This allows the flavors to meld beautifully.
With these time estimates in hand, you’ll be enjoying your easy chocolate fudge in no time! For more tips and variations, visit Chocolate Fudge Recipes to explore a world of delightful flavors!
Nutritional facts for Easy Chocolate Fudge
Calories per piece
When indulging in easy chocolate fudge, it’s good to know that each piece typically contains around 100 calories. This makes it a delightful treat that won’t completely derail your day, especially if you enjoy moderation.
Key nutrients to consider
Aside from calories, this rich fudge delivers some key nutrients:
- Fat: Helps keep you satiated, with healthy fats coming from ingredients like cocoa butter or nuts.
- Sugars: Note that the sweetness can contribute to your daily intake, so it’s wise to enjoy it sparingly.
- Fiber: If you use high-quality cocoa or add nuts, you can also bump up your fiber intake, which is beneficial for digestion.
For those wishing to dive deeper into nutritional insights, the USDA offers valuable information on nutrient content. So, as you savor that piece of easy chocolate fudge, remember to balance it within your overall diet for a sweeter experience!
FAQs about Easy Chocolate Fudge
How long does homemade fudge last?
When you whip up a batch of easy chocolate fudge, you’ll likely want to savor every piece! Properly stored in an airtight container at room temperature, your delicious fudge can last up to two weeks. To maintain its freshness, keep it away from direct sunlight and heat. For added protection, you can refrigerate it, extending its shelf life to around three weeks. Just remember that refrigeration can alter its texture slightly, making it a bit firmer but still just as tasty!
Can I freeze chocolate fudge?
Absolutely! Freezing is one of the best ways to make your easy chocolate fudge last even longer. Wrap it tightly in plastic wrap or place it in a freezer-safe container to prevent freezer burn. Properly stored, it can stay good for up to three months. When you’re ready to enjoy it, simply let it thaw in the fridge overnight. The flavors often get even better as they meld together during freezing, making it a delightful treat on a busy day!
What should I do if my fudge doesn’t set?
If your fudge isn’t setting properly, don’t worry! This can happen for a few reasons, such as not cooking it long enough or not getting the right temperature during the cooking process. To rescue your fudge, try melting it down again and adding a bit more chocolate or sweetened condensed milk, then allow it to cool again. Or, consider making a fudge sauce to drizzle over ice cream or pancakes—delicious, right?
Whether you’re a seasoned baker or a newbie, these tips can help ensure your easy chocolate fudge turns out perfectly every time. For more tips on baking and candy-making, check out resources like the Chocolate Manufacturers Association. Happy fudging!
Conclusion on Easy Chocolate Fudge
Recap of the Joy of Making Chocolate Fudge at Home
There’s something magical about whipping up a batch of easy chocolate fudge in your own kitchen. Not only does it fill your home with a delightful aroma, but it also offers you a chance to customize the flavors to your liking. Remember that moment when you took that first bite? Those rich, creamy textures just melt in your mouth, providing instant satisfaction. Making fudge is a fantastic activity to share with friends or even as a solo sweet escape. Plus, it’s a simple recipe that anyone can master—just a few ingredients are all you need! If you’re looking for more ways to enjoy chocolate, consider checking out resources like Serious Eats for additional inspiration.
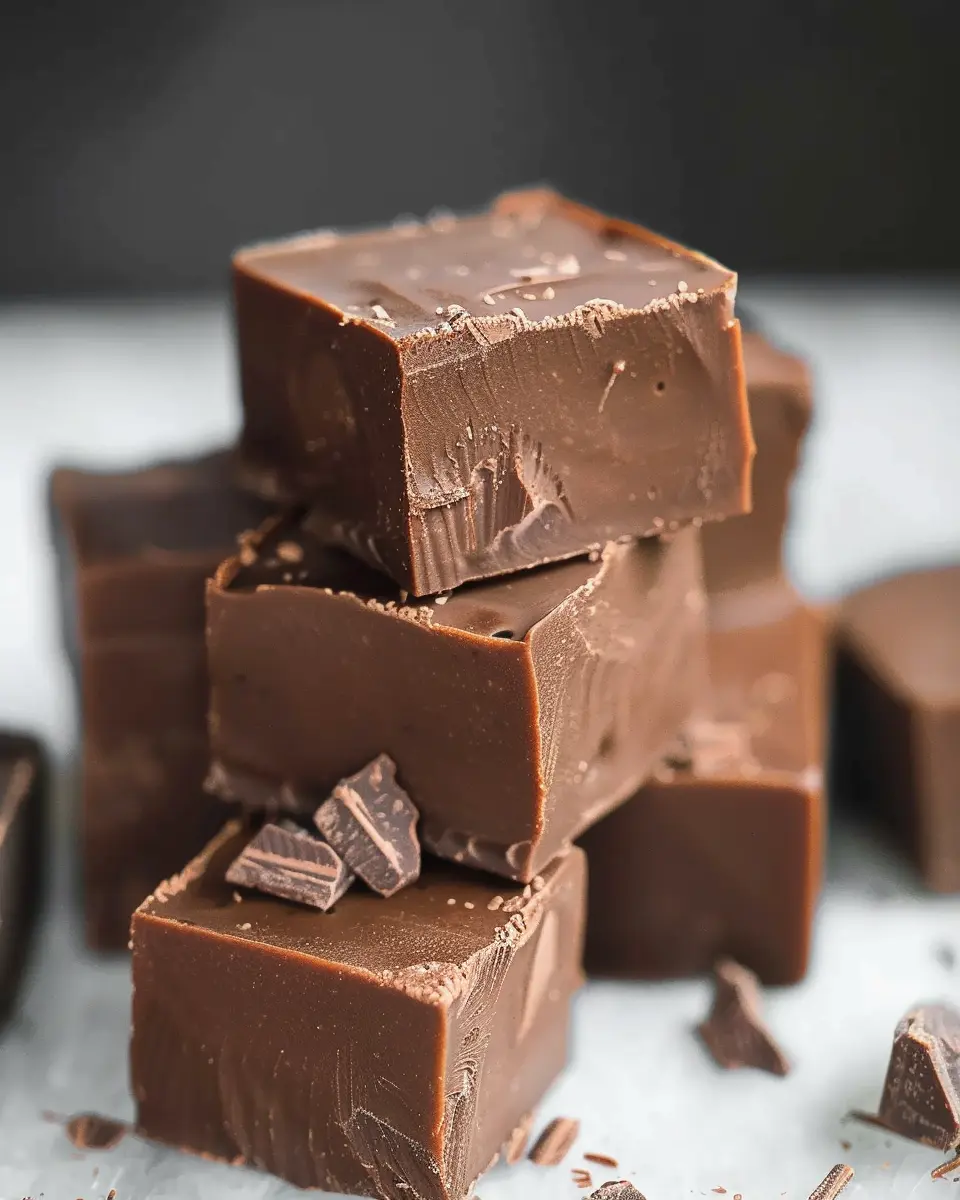
PrintEasy Chocolate Fudge: Indulge in This Simple Homemade Treat
A simple and delicious chocolate fudge recipe that anyone can make at home.
- Prep Time: 10 minutes
- Cook Time: 10 minutes
- Total Time: 20 minutes
- Yield: 16 squares
- Category: Dessert
- Method: Stovetop
- Cuisine: American
- Diet: Vegetarian
Ingredients
- 2 cups semisweet chocolate chips
- 1 can (14 oz) sweetened condensed milk
- 1/4 cup unsalted butter
- 1 teaspoon vanilla extract
- 1/2 cup chopped nuts (optional)
Instructions
- In a medium saucepan, combine chocolate chips, sweetened condensed milk, and butter over medium heat.
- Stir continuously until the mixture is smooth and fully melted.
- Remove from heat and stir in vanilla extract and nuts if desired.
- Pour the fudge into a greased 8×8 inch pan and spread evenly.
- Refrigerate for at least 2 hours until firm.
- Cut into squares and enjoy!
Notes
- For a richer chocolate flavor, use dark chocolate chips.
- Store fudge in an airtight container for up to 2 weeks.
Nutrition
- Serving Size: 1 square
- Calories: 150
- Sugar: 20g
- Sodium: 50mg
- Fat: 7g
- Saturated Fat: 4g
- Unsaturated Fat: 3g
- Trans Fat: 0g
- Carbohydrates: 18g
- Fiber: 1g
- Protein: 2g
- Cholesterol: 10mg